Topics
With a ZimaBoard performance somewhere between a Raspberry Pi and a MicroServer and a price positioning, the best use for the ZimaBoard for many gamers is undoubtedly to be a hundred-dollar, customizable, OpenWRT / pfSense x86 router with enough arithmetic power.
Based on this tutorial, we will demonstrate how to use the ZimaBoard’s pre-built system. After a few steps, this will pave the way for you to play around with the routing system you are familiar with.
Preparation
- PC Host x1
- ZimaBoard x1 (connected to the same LAN as the PC)
- your favourite x86 OpenWrt Image or download the image recommended by the team via this link
Tips:
- This tutorial will install OpenWRT directly onto the ZimaBoard’s eMMC, overwrite and remove the pre-installed operating system. Please also save and backup your original system user data!
- OpenWRT Image, e.g., an image file with the .img suffix! If the .gz
Operation Steps
Login to the System
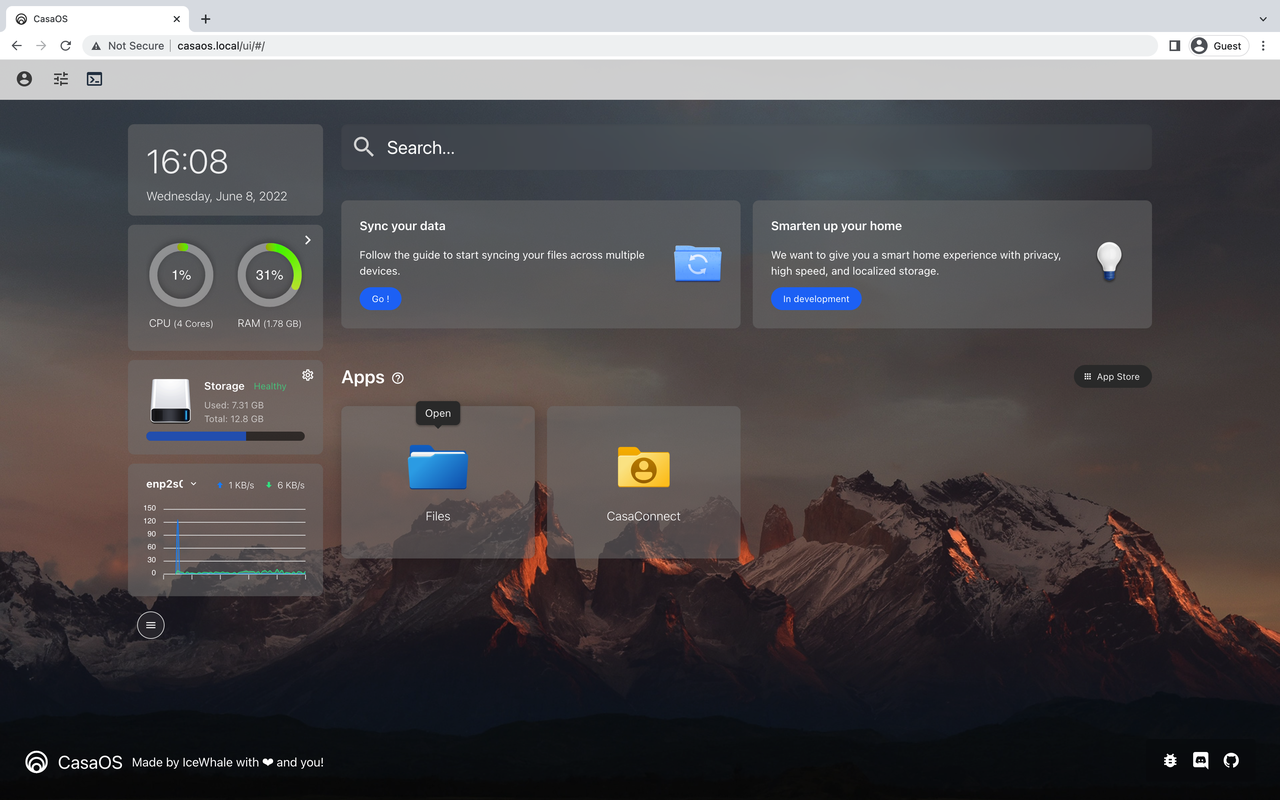
On the PC, log in to ZimaBoard’s CasaOS panel via casaos.local
Upload the OpenWRT image
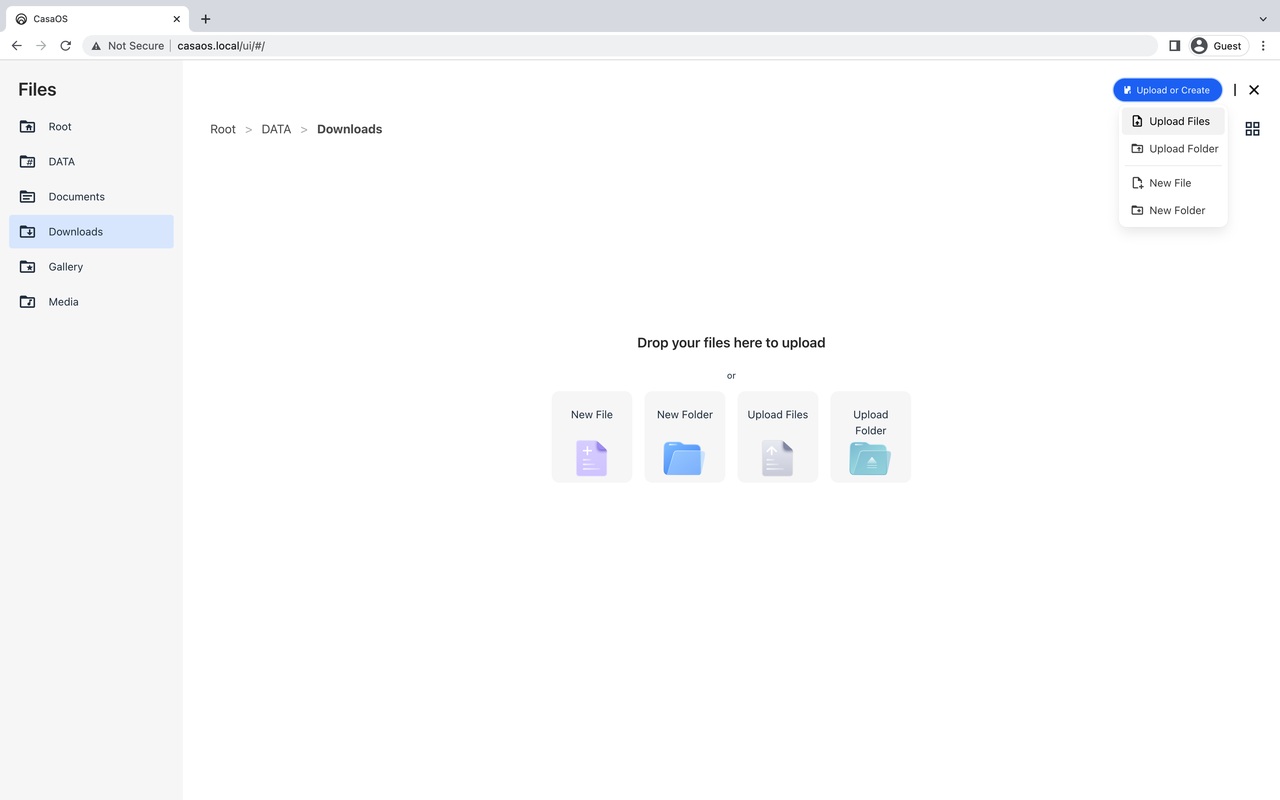
1. Upload the OpenWRT image prepared on your PC to the ZimaBoard storage
a.Click on the Files application, select a directory and click on the Upload Files button
2. From the local path, select Upload your OpenWRT image
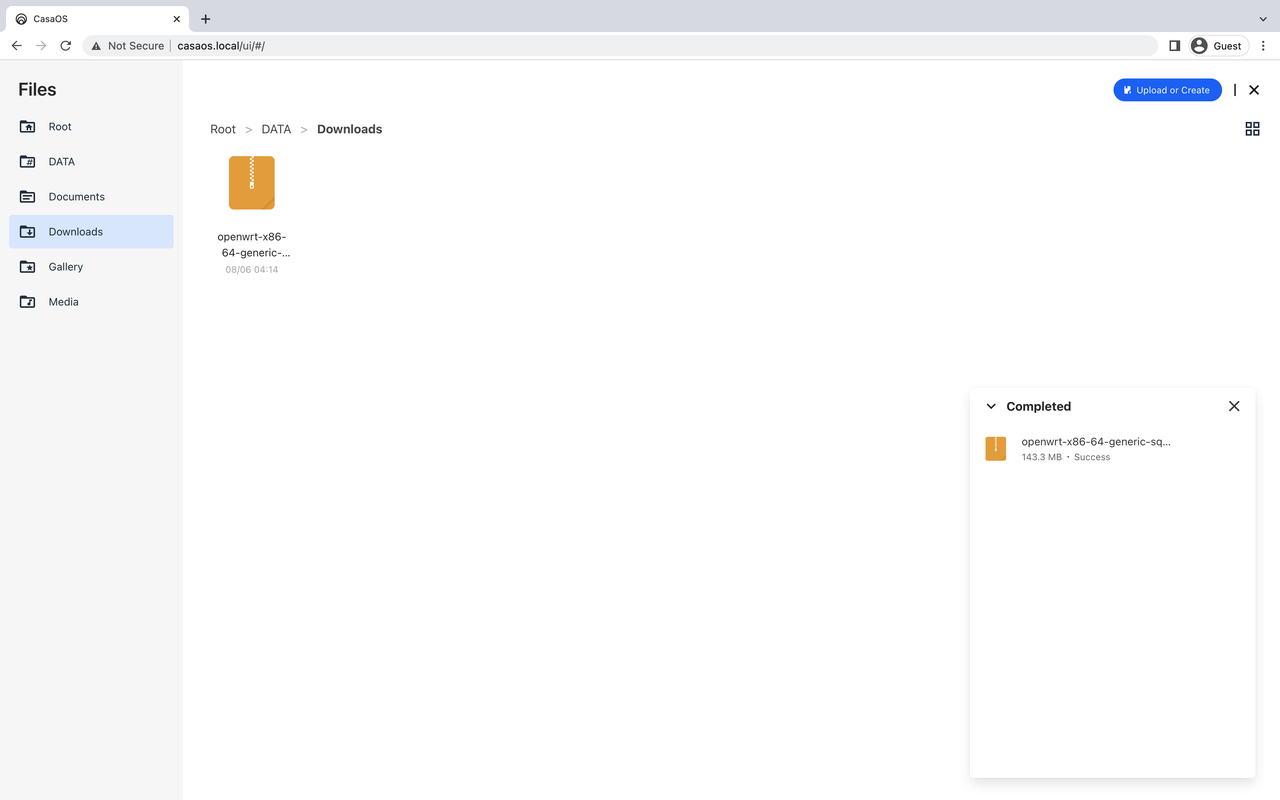
3.Wait for the upload to complete
OpenWRT System Writes to eMMC
- Write the OpenWRT Image to the ZimaBoard eMMC using the DD command
a.a.Login to the ZimaBoard system via Terminal, SSH on your PC(Terminal out connection, need to know the IP address of your machine)
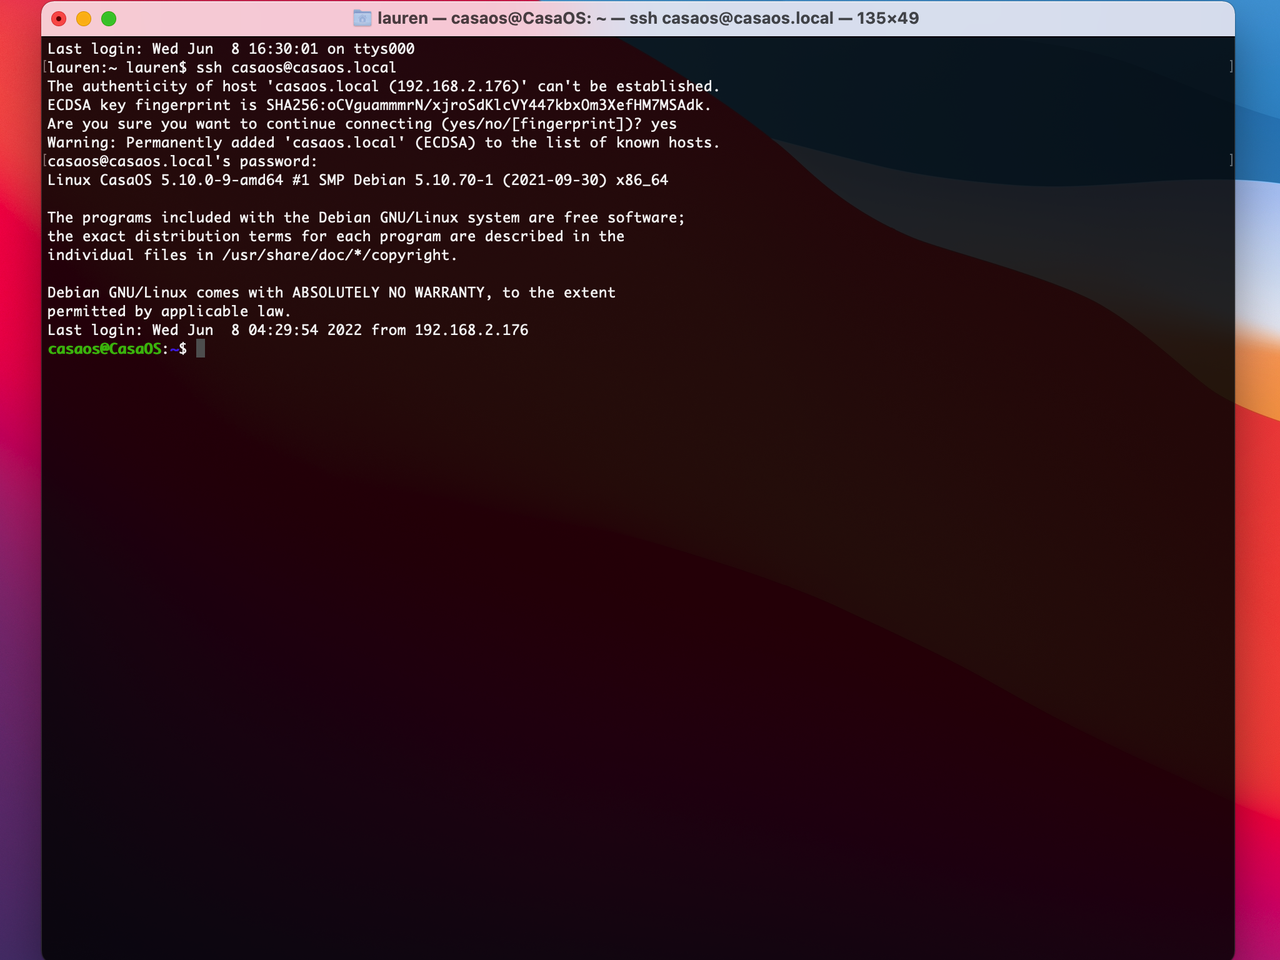
Login with your CasaOS account and password
Default Account Password
Account:casaos
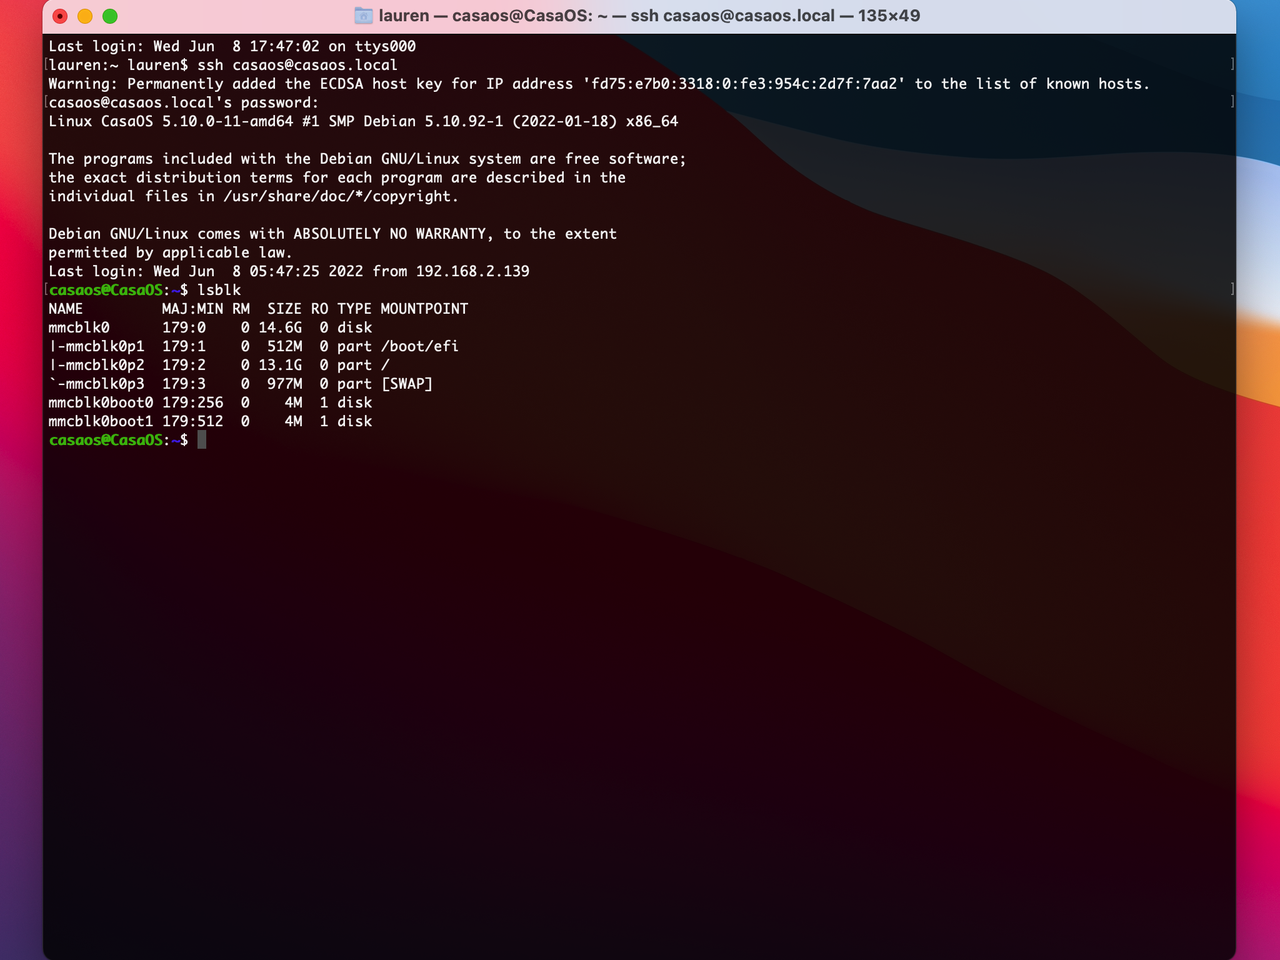
Password:casaosEnter lsblk and review to see if you are getting the target eMMC name, which should be mmcblk0
Unzip the image file (if your OpenWrt file is a zip archive)
gzip -d [.gz or .img.gz image name]
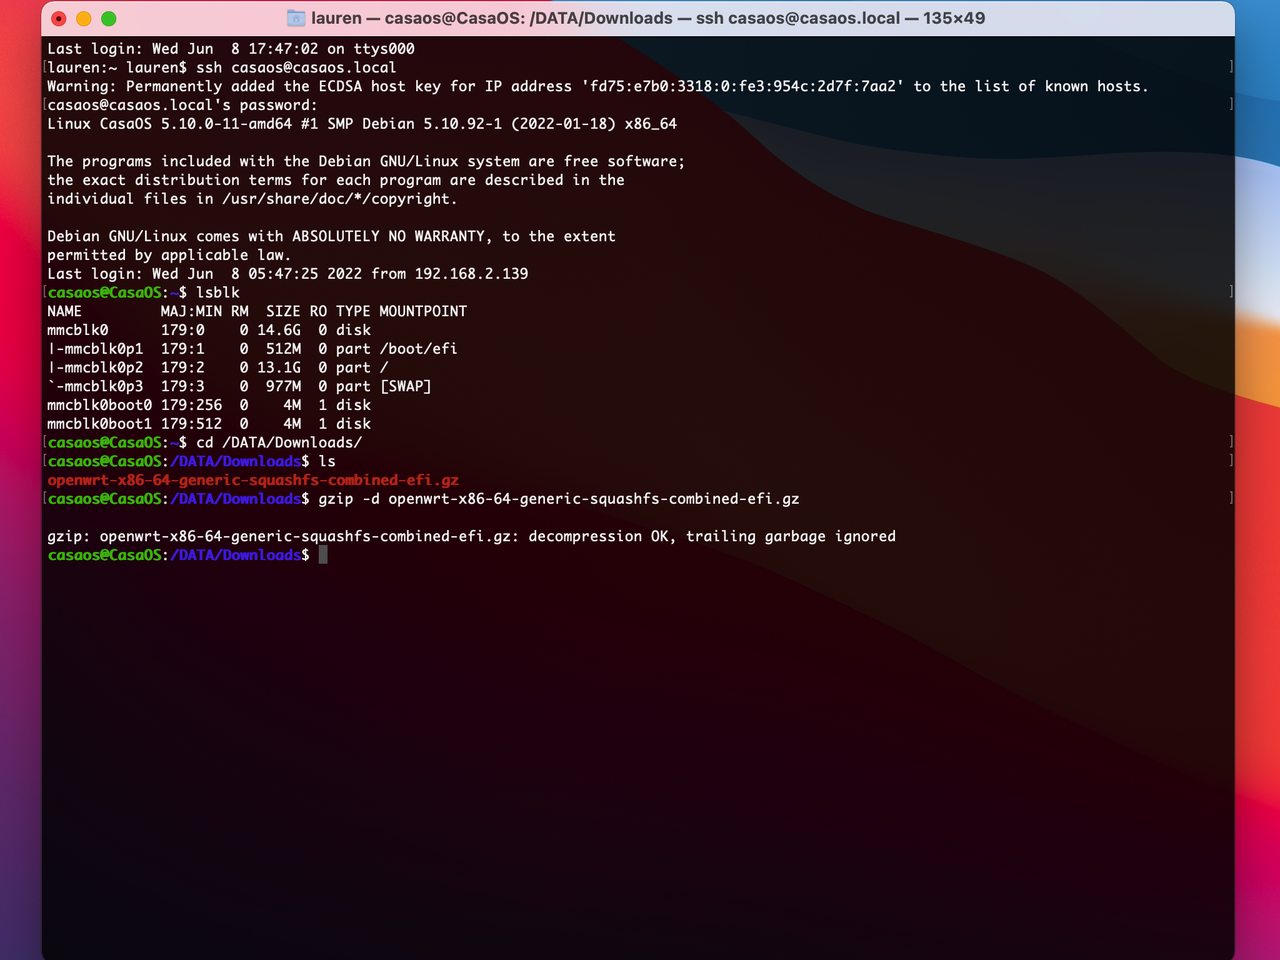
Check that the decompression is working! Make sure there are no abnormalities in the image file
ls -lh |
Enter the following DD command to write the OpenWrt image uploaded to the ZimaBoard to the eMMC!
- Make sure your image path matches the location and filename of the folder you uploaded!
- Make sure your written image has a .img extension! and not a zip file!
sudo dd if=/DATA/[upload path]/[name.img] of=/dev/mmcblk0 bs=1024k status=progress
After the DD command has been executed, power off and reapply power to the ZimaBoard.
login OpenWrt system
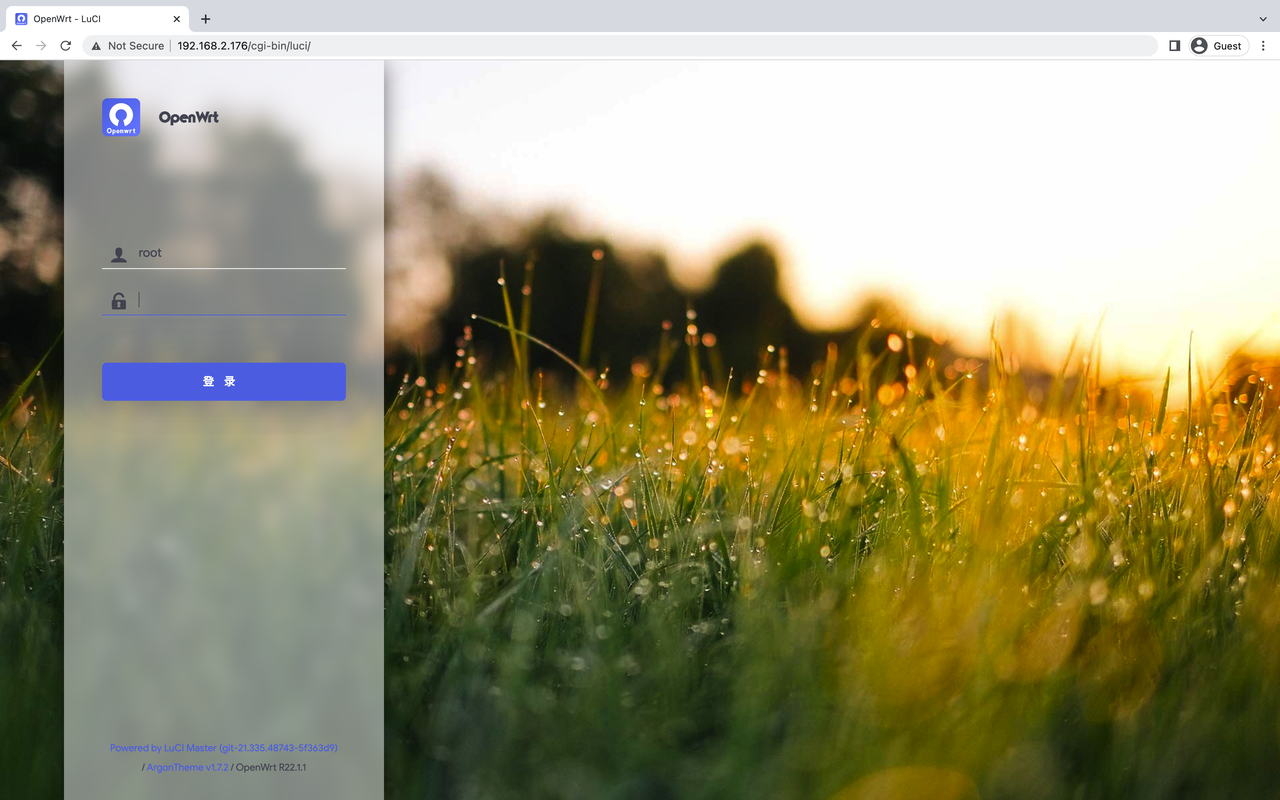
1. Configure your OpenWrt system IP address information and use a PC browser to log into the OpenWrt Luci page
{% note danger %}
    Attached is a tutorial on the OpenWrt IP address configuration command
    https://openwrt.org/docs/guide-user/network/openwrt_as_routerdevice
    {% endnote %}
2. Reboot and log in to your OpenWrt system
Summary
I prefer to run a purely separate system and service on each ZimaBoard. So, this is a much simpler way than booting OpenWRT on the ZimaBoard with a USB stick. If you are interested in having your ZimaBoard running dual systems at the same time, consider making a USB stick and switching the system the ZimaBoard is logged into via the Bios configuration.
For those interested in running CasaOS on your OpenWRT system, check out the tutorial!
