NAS is a digital haven where your precious data assets reside.
ZimaBlade is a compact, single-board server that transforms your storage needs into a seamless NAS experience. And not just on Earth, but even on Mars one day! Whether you’re a seasoned Linux enthusiast or a curious tech explorer, setting up your pocket-sized data sanctuary NAS with ZimaBlade is a breeze. Let’s dive in this tutorial!
What you need:
ZimaBlade: Your trusty single-board server!
SO-DIMM DDR3L: The memory module that powers your ZimaBlade.
Type-C 12V 3A Power Adapter: Keep your ZimaBlade juiced up.
MiniDP Cable: For connecting your display.
One to Two HDD or SSD (SATA Interface): Your storage heroes.
RJ45 Connector with LAN Connection: To keep your ZimaBlade networked.
USB Keyboard: For initial setup.
Screen: So you can see what’s happening during boot and setup.
You can find all the accessories in our Zima Store.
Also, give our quick-start video a glance. Let’s start!
Step 1: Install SO-DIMM
Remove the black cover from ZimaBlade and open the transparent cover:
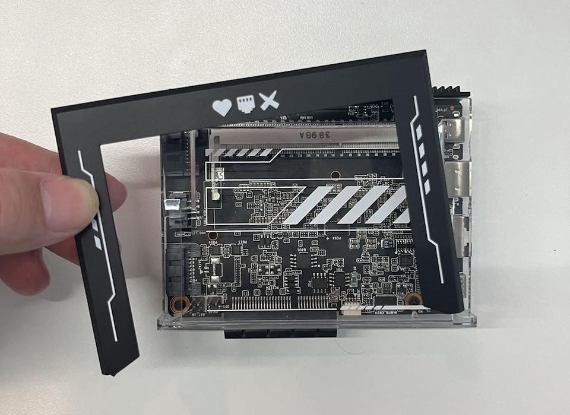
Use a screwdriver to open the transparent cover:

Insert the SO-DIMM until you hear a click.
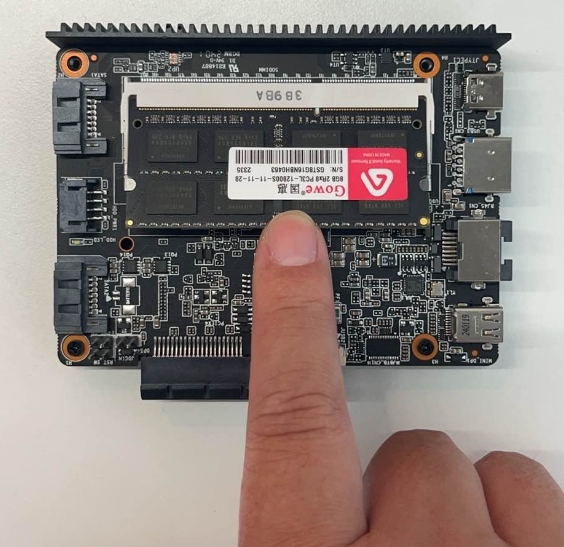
Reassemble all the covers.
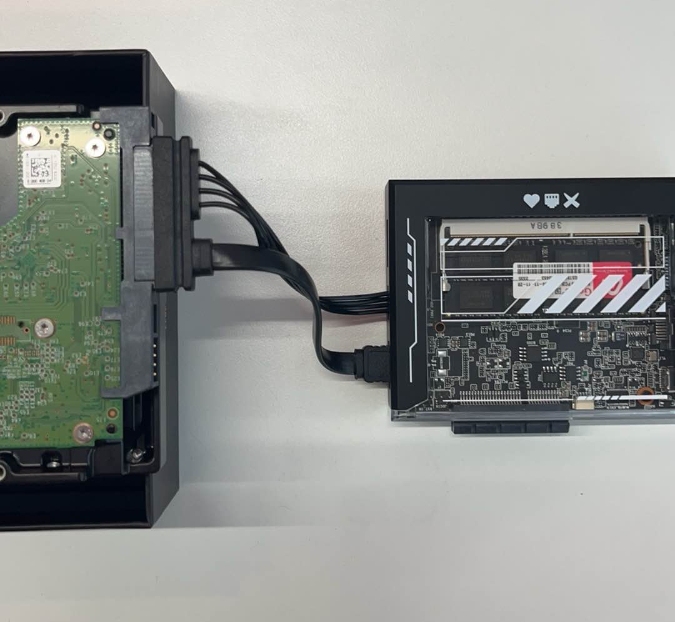
Step 2: Connect
Connect ZimaBlade to your drive. Here, we use an HDD as an example:
To work properly, your drive needs data and a power supply from ZimaBlade. Use the SATA cable included in ZimaBlade package, which gets both data and power supply from ZimaBlade.
Connect ZimaBlade using an RJ45: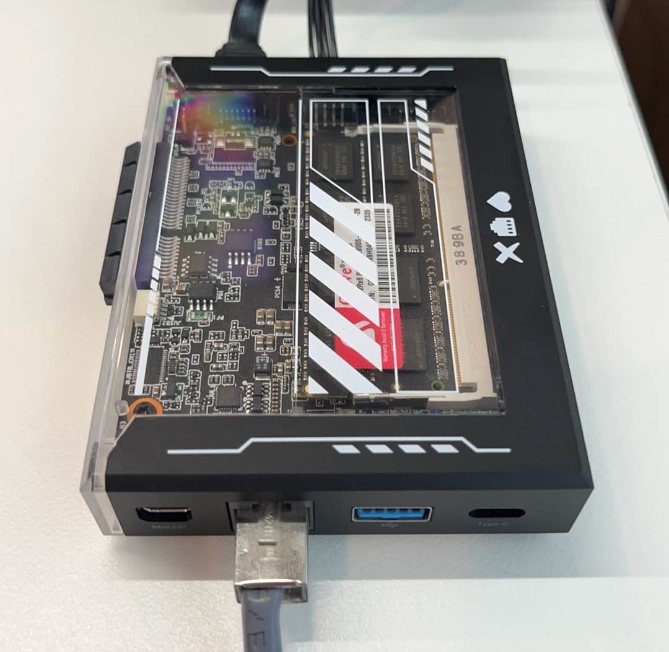
Connect ZimaBlade to a keyboard(USB) and a screen (miniDP):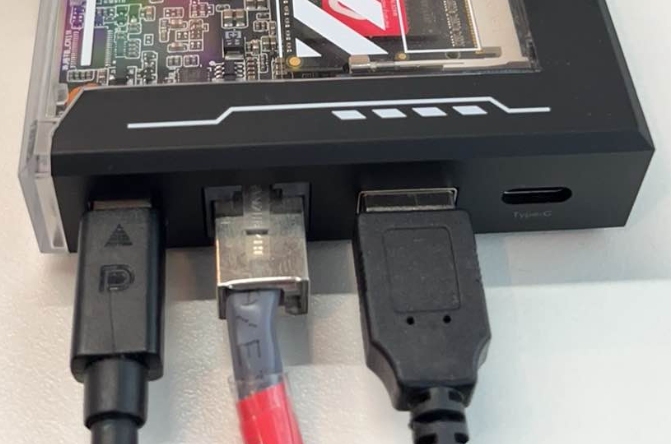
Connect ZimaBlade to the power supply: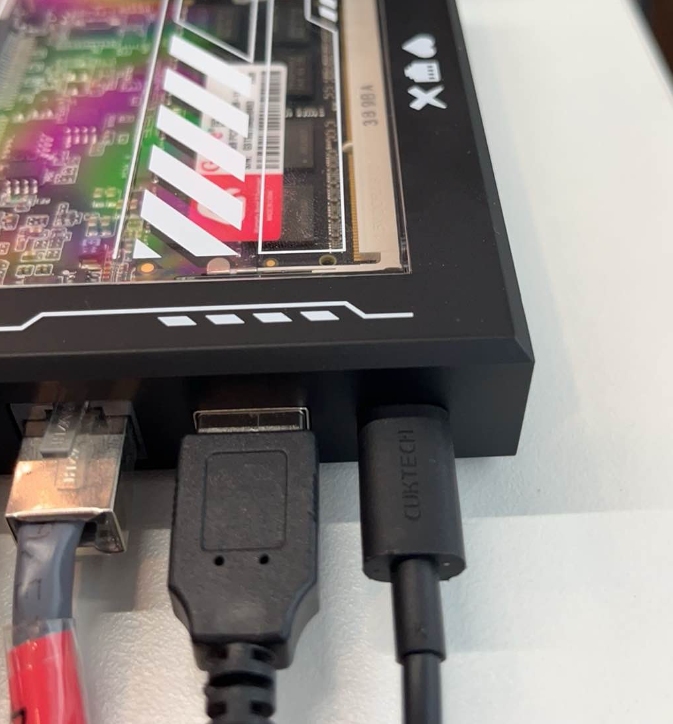
Use the type-C cable included in ZimaBlade package.
ZimaBlade’s type-C interface supports USB PD 3.1.
For long-term use with an HDD, consider using an external power supply.
Step 3: Boot and get the IP
Plug the power adapter to you AC socket and power on your display. And… Boom! You are in!
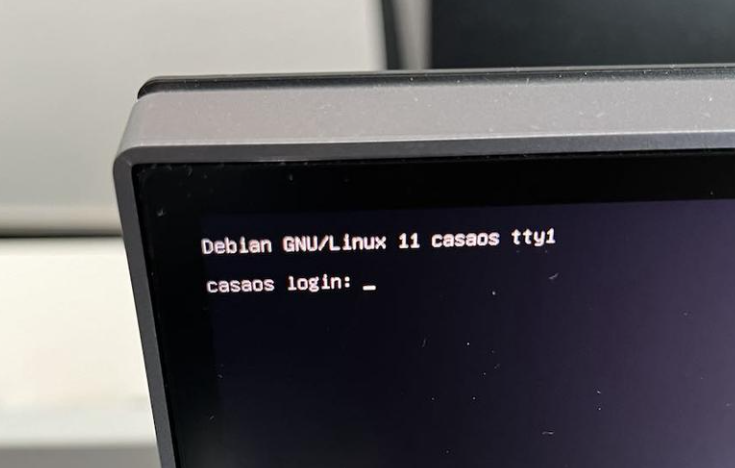
You’ll be prompted to enter the default account casaos and password casaos to login in.
After logging in, obtain the IP address.
Now, get ZimaBlade’s IP address:
Type ip addr and press Enter to see the IP address. It will be somting like 192.x.x.x or 10.0.x.x. (depending on your LAN configuration.)
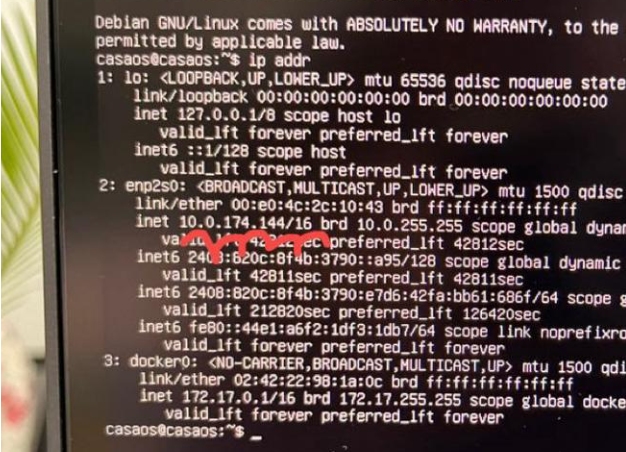
Note down the IP address.
Step 4: Your NAS is here!
Visit your ZimaBlade at http://yourIpAddress on your phone or desktop computer.
Follow the instructions to create a Web UI account.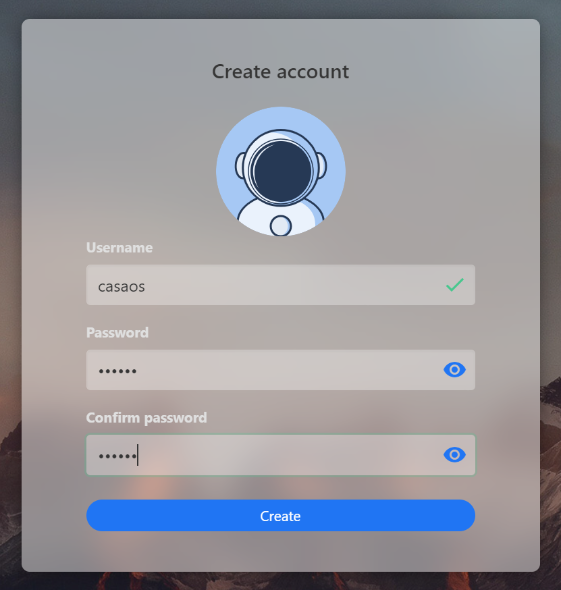
After creating the account, you will be logged into the CasaOS Web UI.
Now, configure your disk. CasaOS will detect the disk connected. Click the storage setting button, then click the “Create Storage” button.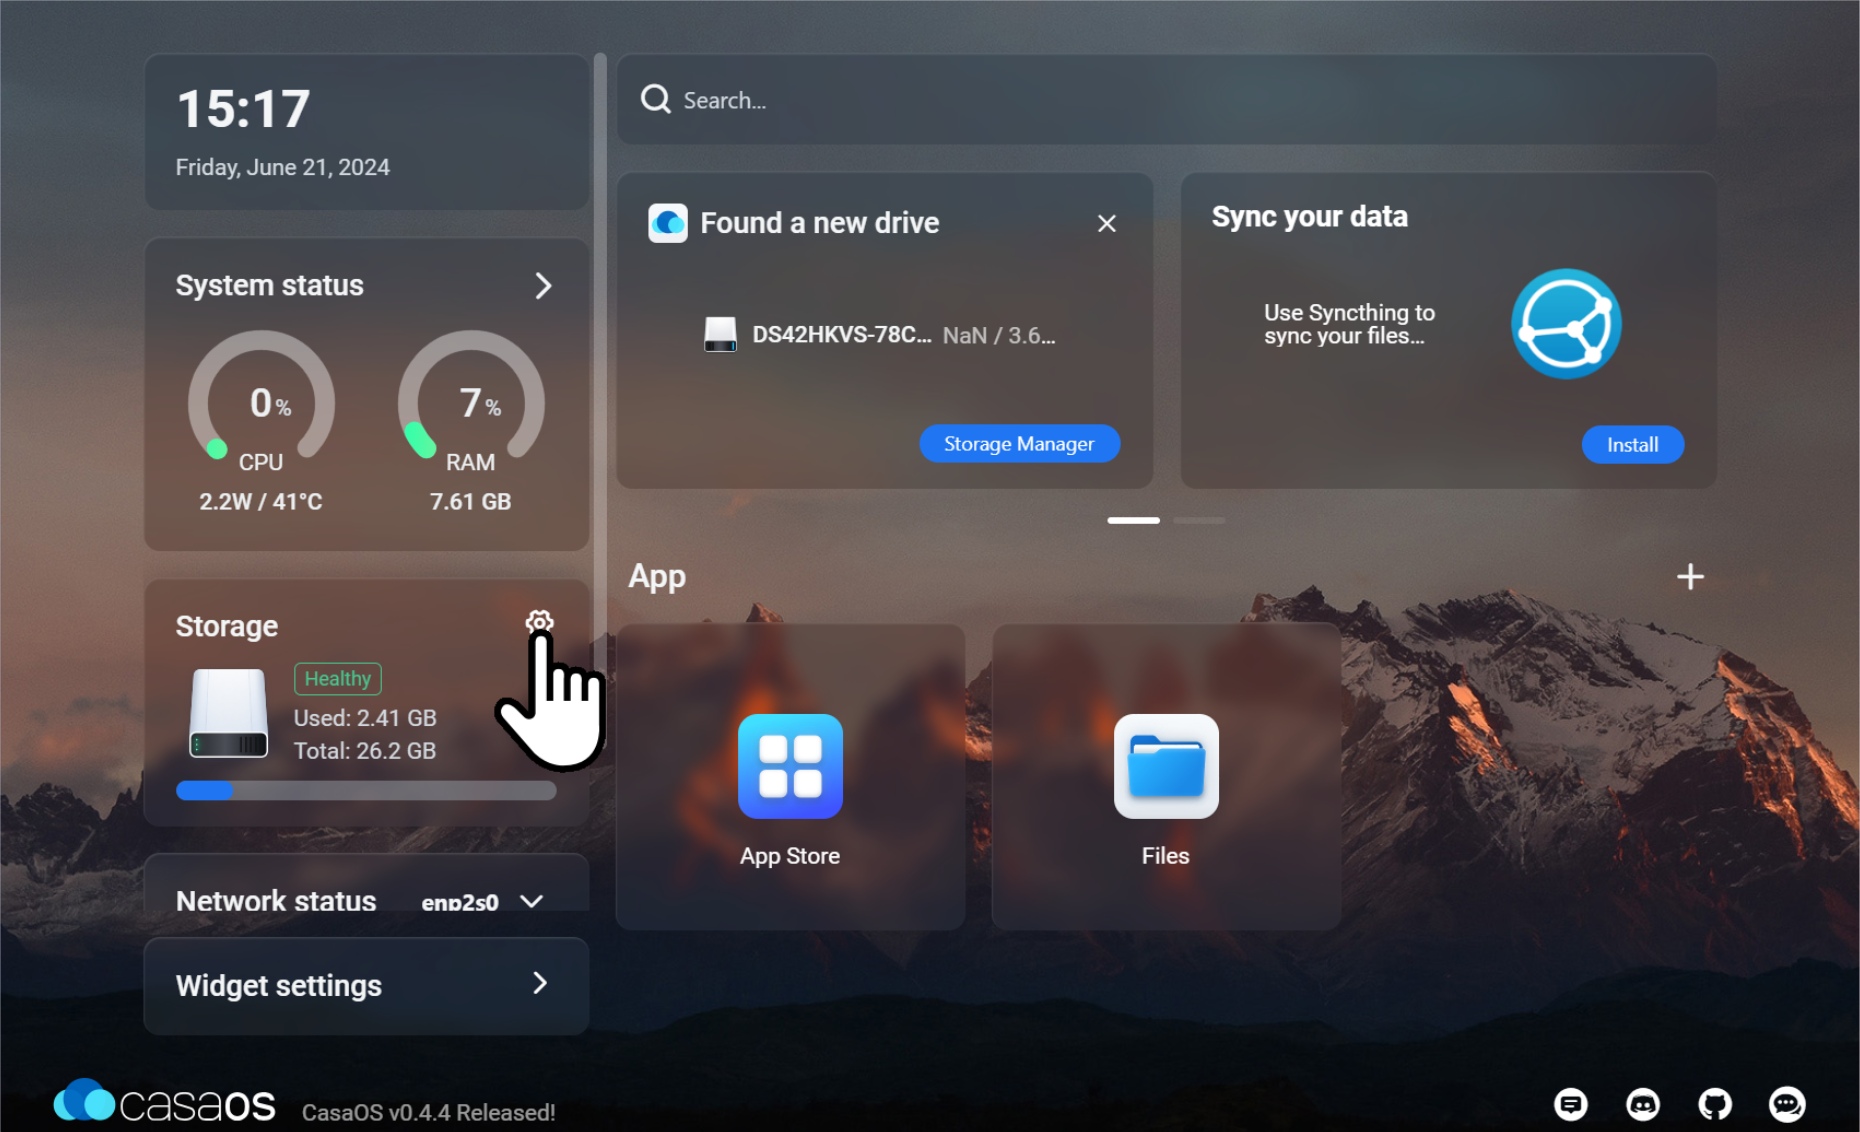
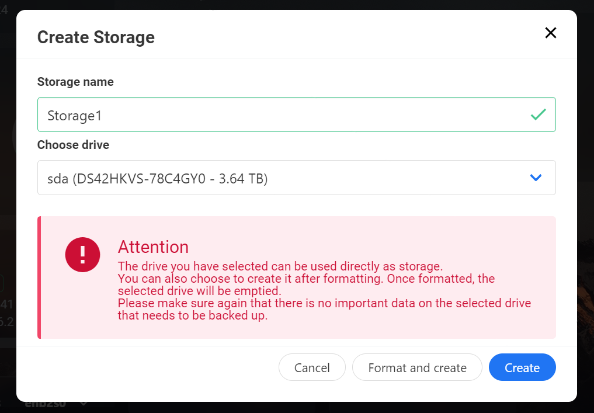
Choose the appropriate option for your needs. Your drive is now ready to be used as storage.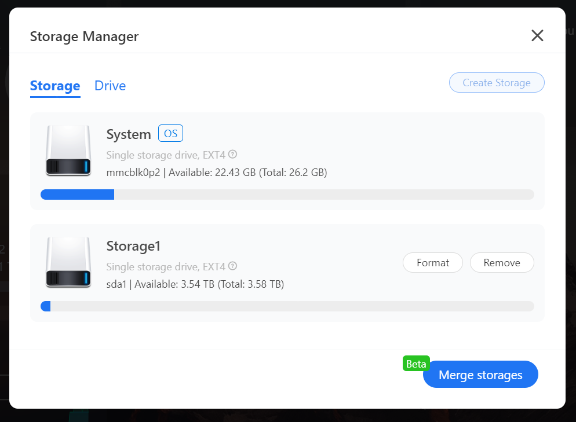
Use the “Files” app to upload and access your files!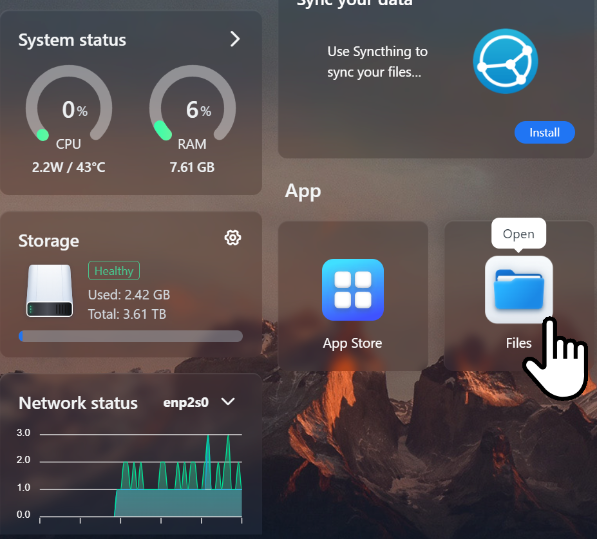
Your ZimaBlade NAS is just set up! Enjoy!
If you encounter any issues during use, feel free to let us know at any time. You can also join our community and Discord to discuss more about NAS and ZimaBlade. We look forward to your feedback!